At this first login, as root:1234, you will be asked :
- Security things... do not worry, just agree to them all.
- Enter a new password for root user.
- You will be asked if you prefer to use Bash or zsh - do not worry, just choose (1) Bash.
- Enter a user name (your name, keeping it simple, no spaces nor weird symbols).
- Enter a password (you will be asked to repeat this).
- Now set up your real name (leave the same), location and keyboard (usual UK = en_GB.UFT-8 - choice #2).
Now update your system before you go any further:
bananapim5:~:% apt-get upgrade -y
Now you have your own username:password it is strongly advised you disable 'root' login. To do this (whilst logged in as root) ....
'nano' is a Linux text editor & you wish to edit file "/etc/ssh/sshd_config"
Once opened scroll down and change line "PermitRootLogin yes" to "PermitRootLogin no"
Exit and Save: by pressing ... Ctrl+X .... Y ... Enter
Optional:
The default name "bananapim5" is rather long-winded and I change mine to 'BPiM5' ...
This opens a configuration window. Scroll down to: Personal and press enter to activate OK
Next screen: choose Hostname and press enter to activate
Type in your new name (mine was BPiM5) and activate enter for OK
Keep exiting until you are back to the SSH prompt
Now is probably a good time to reboot
On reboot, because you have forbidden root login, you must now login under your user name & password
- Ubuntu: in Terminal type:
ssh [your user name]@[your IP]
- Windows: enter your user name and password when asked in SSH window
Log in under your username has limited permissions. Therefore, you need to set yourself up with root privileges.. this is know as being a Superuser (su).
.. and enter your root password
You should do this every time you login - it's a pain but it's about security
The final stage is to migrate Armbian from the SD card onto eMMC and or a SSD hard drive connected to one of the USB ports
The BPI-M5 and BPI-M2Pro both have 32GB of eMMC and this should be adequate for any home monitoring, database and web page serving. I use an add-on SSD as this stores my music (FLAC format) to play and my DLNA devices around the home.
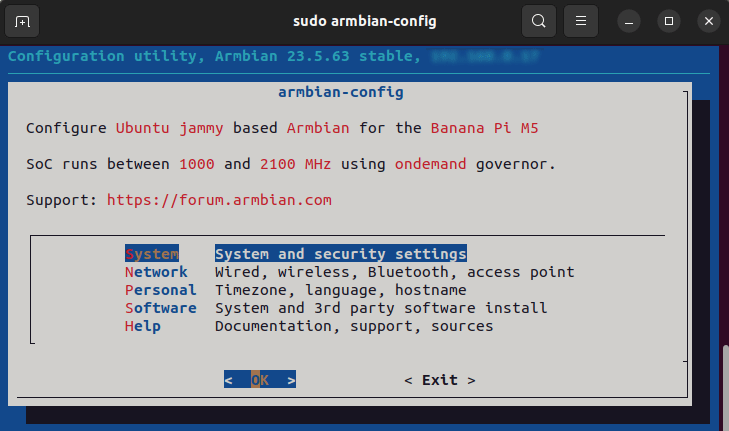
Migration is done via armbian-config...
This opens a configuration window. Choose: System and press enter to activate OK
Next screen: choose Install and you will see all, or some, of the following. If you don't have a USB SSD then option 3 will be missing
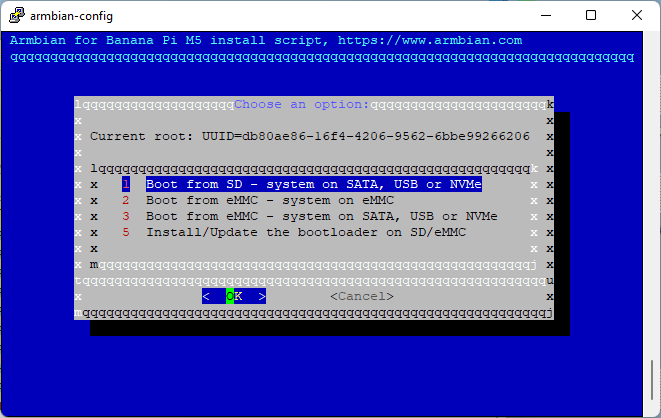
I'm using option 2 -"Boot from eMMC - system on eMMC"
Press OK and the OS will migrate, asking if you wish the eMMC (and SSD if used) to be formatted. This must be allowed and agreed. Any previous data will be lost.
Once complete, the process will demand a reboot. Disconnect the power supply - REMOVE THE SD CARD - and power up. Your BPI-M5 will boot from eMMC.