SAMBA
SAMBA is "the standard Windows interoperability suite of programs for Linux and Unix". It's software that allows your BPi-M5 share files around your network. This makes access far easier than having to use Command line Instructions through your SSH connection.
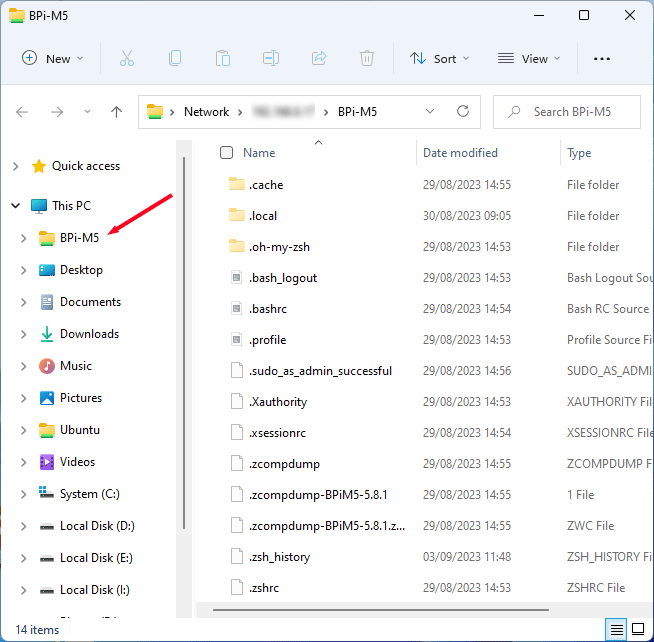
E.g. your BPi-M5 flies will show up in File Explorer of your Windows PC with the ability to both read files and write files.
Log in as root privileged su:
Just in case, update your system...
BPiM5:yourname:# apt-get upgrade
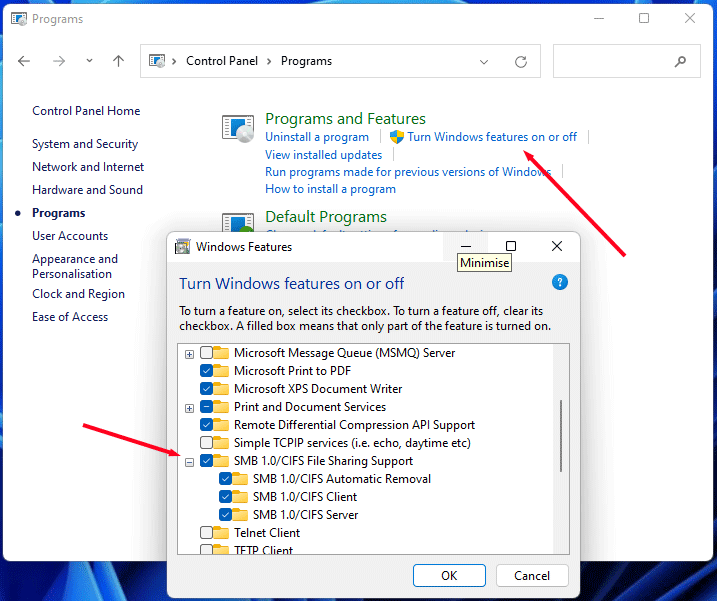
SAMBA is already installed (for file sharing),even so, run following install as not all modules are installed as standard
Backup SAMBA's config file
Edit SAMBA's config file
Change the entry ....
workgroup = WORKGROUP to the name of your workgroup, if different.
Add the following line immediately after the workgroup line. This allows windows to see your BPi-M5
wins support = yes
Scroll down to section SHARE DEFINITIONS and add the following at the top of this section....
[BPi-M5]
comment = your user name Music
path = /home/your user name
browseable = Yes
writeable = Yes
only guest = yes
create mask = 0777
directory mask = 0777
public = Yes
force user = your user name
- Keep the square brackets in the 1st line & make a note of this name. It is the name you are giving to the 'SHARE' and you will need this name when to connect from a Windows machine
- Replace your user name with your name.
Exit and Save: by pressing ... Ctrl+X .... Y ... Enter
Restart SAMBA
BPiM5:yourname:# service nmbd restart
Windows should now be able to see your BPi-M5
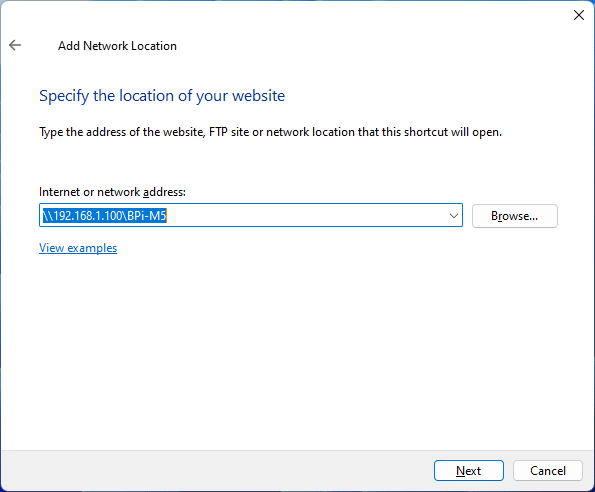
To get your new SAMBA share to show up in Windows File Explorer as a Network Location..
- Open File explorer Win+E
- Right click 'This PC'
- Choose 'Show more options'
- Choose 'Add a network connection' takes you to Add Network Wizard
- Click 'Next'
- Select 'Choose a custom network locatio'n and click 'Next'
- In the in box type " \\[IP addfress]\[Share name you gave when you installed SAMBA]
- Click 'Next'
- Here you can rename the 'share' for use in Windows (mine = BPi-M5)
- Click 'Next' and 'Finish'