Banana Pi M5 (BPi-M5)
Raspberry Pi, Orange Pi, Banana Pi single board computers are all pretty similar. I chose a Banana Pi M5 (MPi-M5) as I like the on-board eMMC memory which Raspberry Pis do not have. The BPi_M5 is almost identical to the newer BPi-M2pro but enjoys more onboard DDR4 ram, 4GB compared to the M2Pro's 2GB. However, the M5 is without WiFi but I prefer Ethernet, so it's not an issue for me.
To make it work all you need to do is install an OS, Android or one of the variants of Linux.
My OS of choice is Armbian and this guide is based on an Armbian image for the BPi-M5/BPi-M2P
 |
Armbian |
Armbian OS downloads for Banana Pi M5 or M2Pro - Link
I chose Armbian Jammy CLI i.e. one without a built in visual interface and I chose Jammy as I'm more conversant with the Ubuntu based version than the Debian flavoured 'Bookworm'.
Instructions are detailed on the Armbian page - Link - but below is how to do it using Ubuntu or Windows 11.
I'm not sure under macOS as I don't use them. Suggest you search internet but it should be similar to the Linux process.
How to:First, download Balena Etcher in your web browser, from GitHub. |
Install balenaEtcher: under Ubuntu
In Github, choose the .deb version for Ubuntu, ignore the reference to AMD, it works OK on Intel too.
Open Terminal (Ctrl+Alt+T). There are a few packages that are required to use BalenaEtcher and are available through the Universe repository. Therefore, ensure to enable the Repo on your system before installing BalenaEtcher.
The downloaded file goes into your 'downloads' folder. In Terminal, CD into that folder.
Then list/check the files in the folder and take note of the balena-ether file name
ls
Inside 'downloads', install .. using your version number of the file..
To open Balena-etcher: Click 'Activities' and in search box type "balena". The BalenaEtcher icon should appear and you can save that to your favourites.
Install balenaEtcher: under Windows 11:
Just click the downloaded .exe file and follow the instructions to install in your place of choosing.
Some boring stuff:
Just like having a high quality SD card, you'll need a top quality power supply that can supply 3 amps at 5volts. If you intend running a large SSD, NAS device off one of the USB3 ports, I strongly suggest you power that device via it's own, separate power supply - do NOT rely on power from the BPi-M5.
SD cards are not very reliable, hence the advantages of many Orange/Banana Pis over a Raspberry. Once the OS is installed on an SD card, the OS can then, and only then, be migrated to high quality, highly reliable, on-board eMMC (high quality memory).
Most abnormalities during setup/running can be attribute to a poor SD card or a poor power supply.
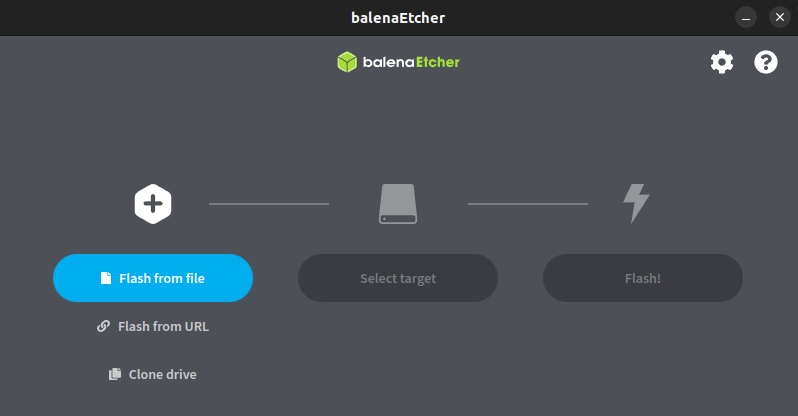
Run balenaEtcher to write Armbian OS to SD card:
The OS has to be written to an SD card.
The card needs to be at least 16GB in size and of high quality.
Place the SD card into a USB adapter/stick and insert into your computer.
Note: under Windows, the SD card must first be formatted using SD Card Formatter -
Download
Windows' built in 'Format' in file explorer does NOT work!
Write to SD card:
The process will first decompress your downloaded file, then write and then validate the process.
Remove the card from the USB adapter and load it into your Pi.
That's it, you're ready to communicate with your Armbian OS ready BPi-M5!
